As your MPC4000 gets older, you may start experiencing problems with the jog wheel. While complete failure is rare, a common issue is the dreaded ‘back click’; this is where the jog wheel decides to produce an unwanted anticlockwise movement resulting in the currently selected parameter decreasing by one increment. Typically this will occur when releasing the jog wheel after a clockwise increment – so for example you might be increasing the attack value of an envelope from 10 to 15 and upon taking your finger off the jog wheel, the value drops back to 14.
As the encoder used by the MPC4000 is optical rather than purely mechanical, it’s unlikely that cleaning it with Deoxit will make any difference so unfortunately the solution is to replace that encoder. The encoder itself is actually pretty hard to track down, but MPC Stuff has managed to source some.

Unlike many MPC repairs, installation of this encoder is not ‘plug and play’ and requires decent soldering skills to swap out the faulty encoder. Hence it’s best to only attempt this yourself if you have the relevant experience and equipment – alternatively, have someone qualified to perform the work for you. Luckily I managed to get LCD backlight guru Matt White from RetroIllumination round to perform the work for me!
Step 1: Partial Casing Removal
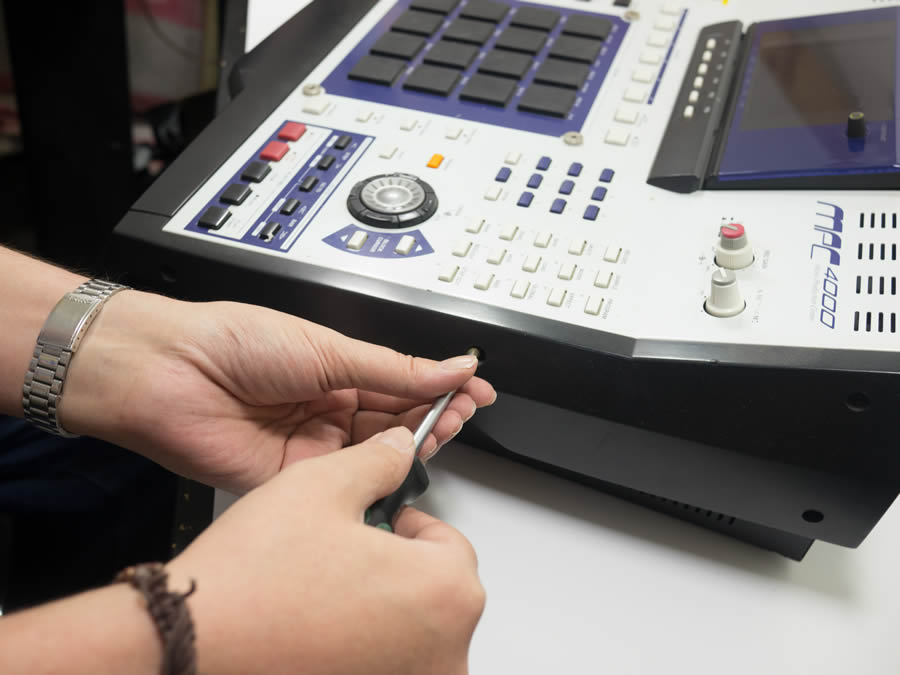
We eventually want to access the underside of the main board, so the first step is to remove the MPC4000 side panels and palm rest. First, remove the large screws that hold both side panels in place:
Now pull out the side panels:

Next remove the palm rest. This is held in place by a number of screws located from underneath the palm rest, so unscrew these first and the palm rest will simply lift off.
The top casing actually consists of two separate layers – the white external top casing and a second grey layer that actually houses the main board itself. This two-layer ‘sandwich’ is held in place with a number of screws dotted all around the top of the casing. Remove all these screws.

Now remove the top white layer:
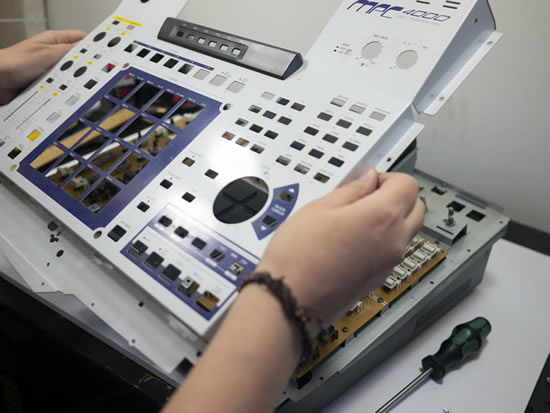
This reveals the main board:

Now lift up the main board:
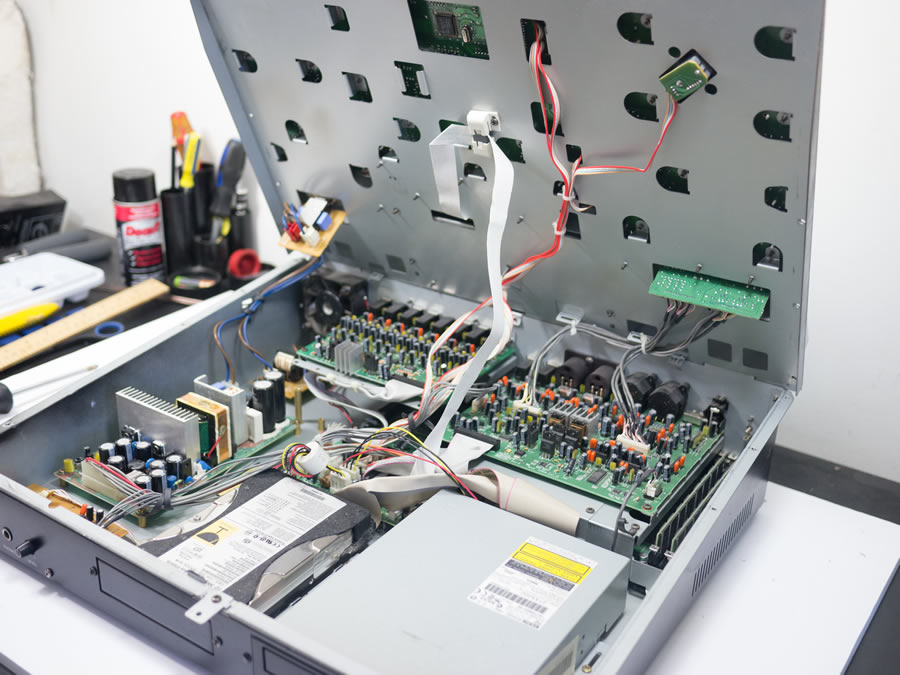
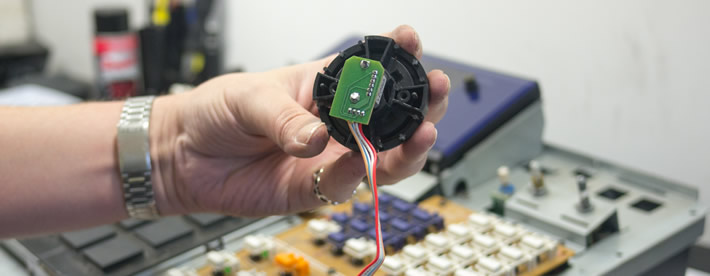
Top right you can see the underside of the jog wheel assembly – it’s small rectangular circuit board with the encoder pins soldered to it. This assembly is held to the top casing using two screws – remove both of these.
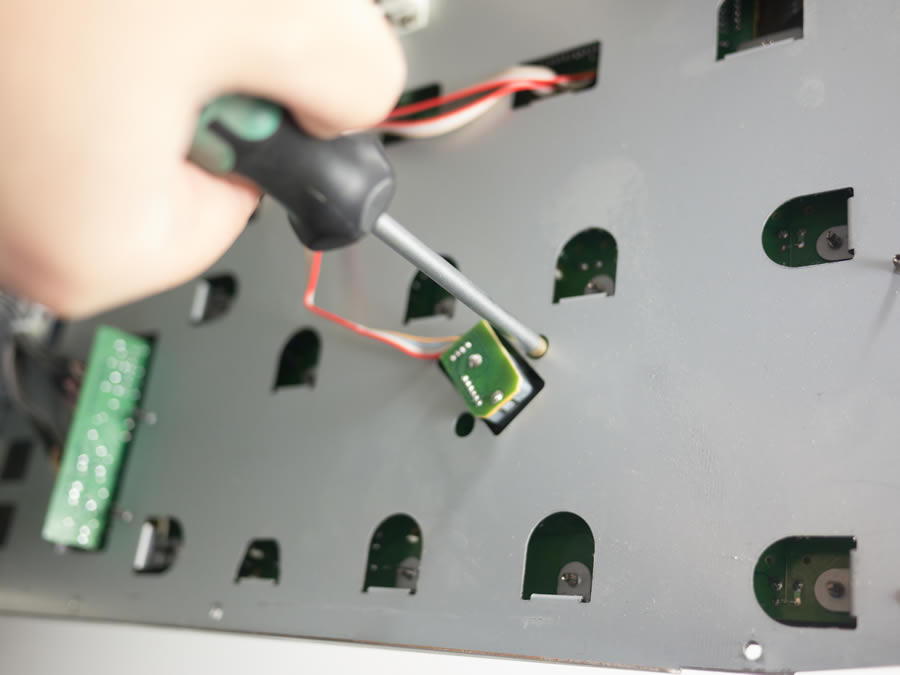
Follow the cable from the jog wheel circuit board and unplug it from the main board by pulling out carefully.
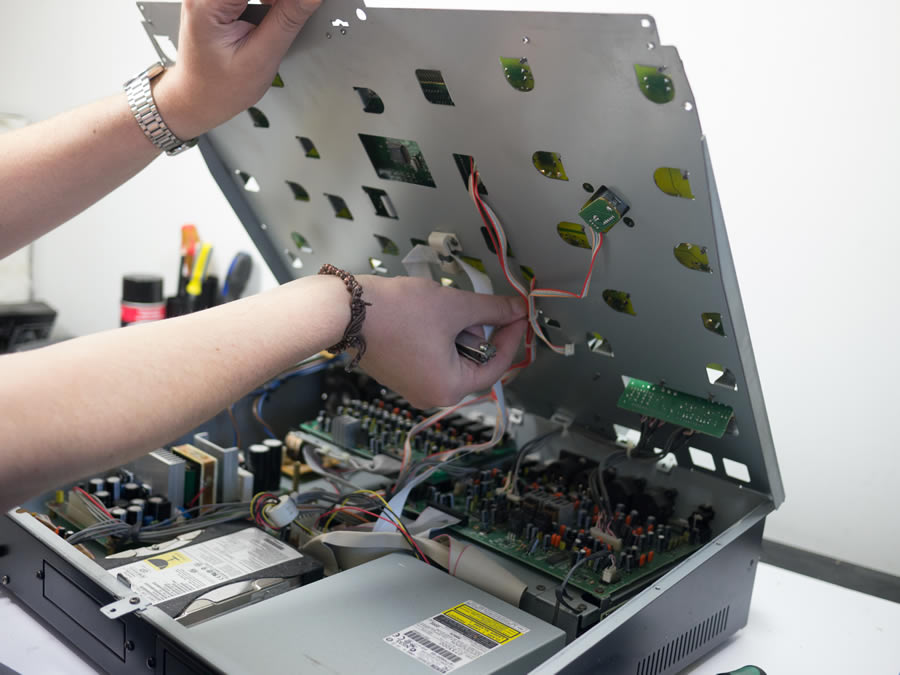
Place the main board layer back down and pull the entire jog wheel assembly out.

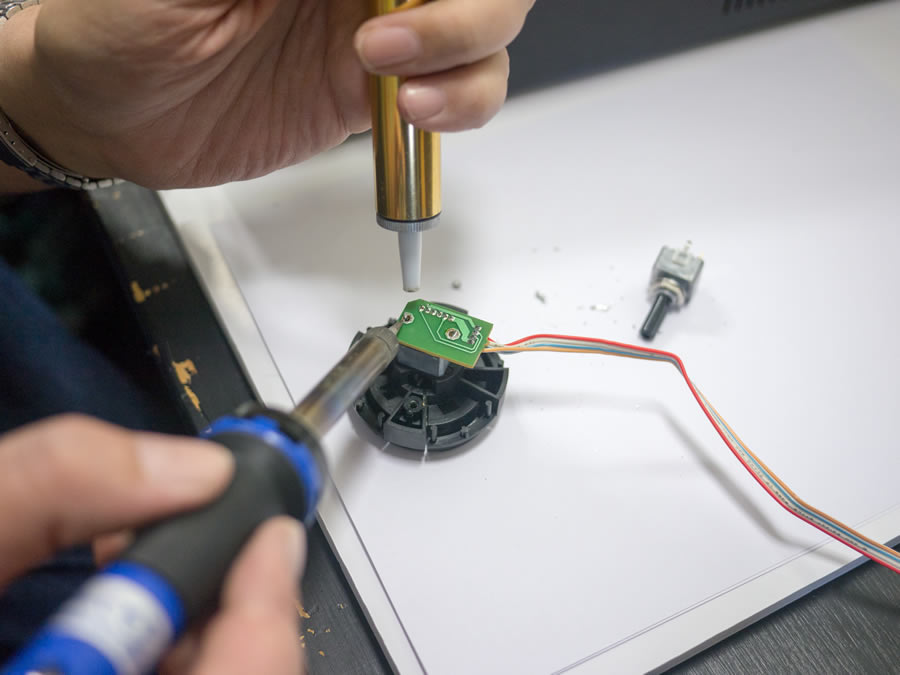
Using a soldering iron with a desoldering pump or braid, disconnect the old encoder from the green circuit board by desoldering the pins that are attached to the encoder, being careful not to apply too much heat to the circuit board. Leave the cable attached – do not desolder this!
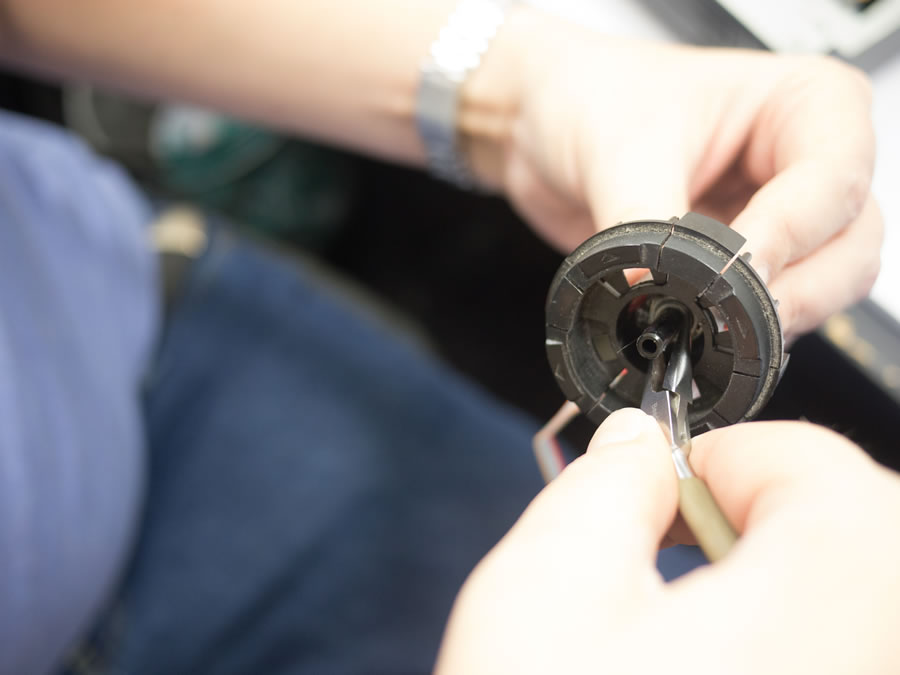
Once the encoder pins have been desoldered, put the circuit board/cable assembly to one side and now pull the jog wheel itself out of the black jog wheel surround.
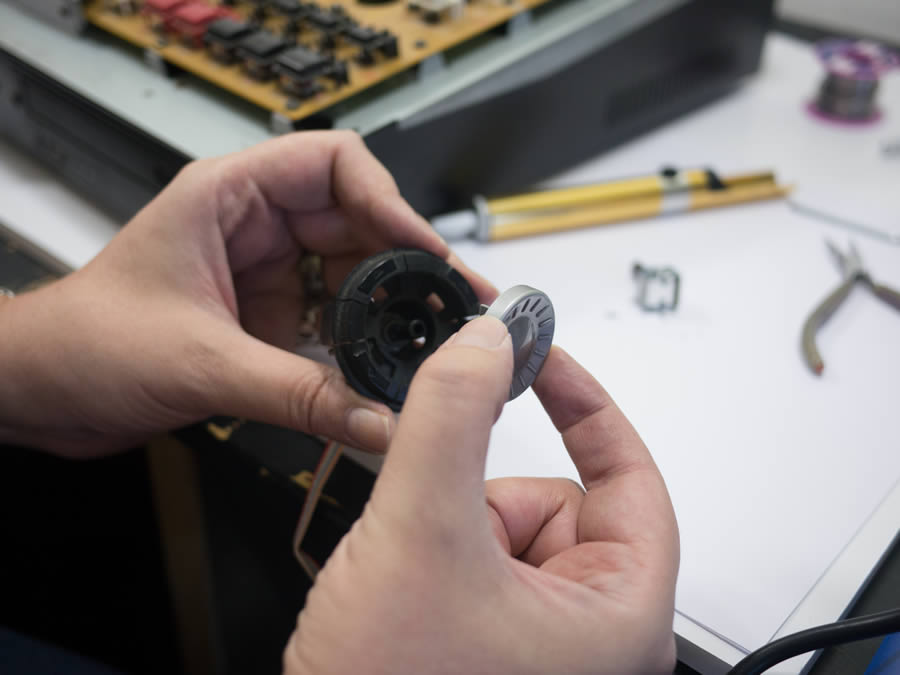
This gives you limited access to a nut which clamps the existing encoder to the black jog wheel surround. This nut needs to be removed by turning several rotations anti-clockwise. This is very tricky as it is not possible to fit a spanner into the available space, and due to the encoder pole being fairly long, we couldn’t find a socket deep enough to reach the nut. So we used a pair of pincer pliers – it took a while, but we eventually removed the bolt and freed the encoder from the jog wheel surround.
Now it’s just a case of repeating the entire process in reverse, this time of course you’ll need to solder the new encoder to the circuit board. You may also find it easier to perform the soldering first before attaching the encoder to the jog wheel surround.
One thing we noticed: as far as we could see, the small circuit board itself seems quite unnecessary – it provides no additional support, and isn’t attached to the main board at all. In theory you could just solder the cable wires directly to the encoder pins.
If your existing jog wheel is causing you problems and you’re wanting to give this a go, you can purchase this encoder directly from MPC Stuff here.
9 Responses
Leave a Reply

Latest Posts

MPC Bible 3, Revision 6 - MPC Oscillators, MPC 3.9, MPC One G2 + MPC Key 37 G2

Downbeat Kit 3 - Acoustic Drum Kit Expansion For MPC3

MPC Bible 3, Revision 4 - Clip Matrix, MPC 3.7 + MPC XL

Out Now: MPC Bible 3, Revision 3 With MPC Live 3 MPC3.6 Support

Dec 9, 2013 10:10 am
hey,
nice tech works – beats me!
do you think is it necessary to replace the pot if it just your ‘down’ button from the jog wheel enclosure that fails?
(can i replace the enclosure/surround without desoldering the pot?)
greets,
jay
Dec 9, 2013 1:00 pm
The pot is only for the data wheel itself, I believe the down cursor would just be a tact switch soldered into the main board. Often these can be fixed by spraying Deoxit on them. Otherwise, it’s a case of desoldering and soldering in a replacement tact.
Dec 13, 2013 1:57 am
Great stuff. Good to see the 4000 receiving a little attention.
Great tip for this fix. My encoder will need to be replaced at since point.
I know where to come for the instructions 🙂
Mar 19, 2016 7:31 pm
Hi there – cursor issue here too, one of the 4 directions not working. Can I clean the cursor contacts without desoldering anything?
Sep 4, 2016 4:11 pm
Nice write up. Do you know if it’s the same to replace the 2000XL jog wheel encoder?
Sep 9, 2016 9:45 pm
Not the same component, I believe the 2000XL is a completely different world of pain, but MPCStuff.com should be able to help.
Apr 29, 2020 5:32 am
Just went through with the replacement! Getting the encoder off the board was the toughest part, those pins are tiny. Time for some smooth scrolling😎
Jan 30, 2022 12:12 pm
Hi , the jog wheel on my 4k , sometimes , only increases values despite being turned counterclockwise . Would this be considered a similar problem and would be fixed by replacing the encoder?
Many thanks for this post!
Jan 30, 2022 4:28 pm
I’m not an electronics expert so couldn’t say for sure, but I would assume a new encoder would likely fix this. But perhaps try cleaning it first with a suitable cleaner (Deoxit etc). But always best to get someone skilled in electronics to look at it IMO.