Here’s 6 handy MPC X, MPC One & MPC Live tips and shortcuts taken from my tutorial book, ‘The MPC Bible’, guaranteed to speed up your standalone MPC workflow in no time!
1. If in doubt, reach for the SHIFT button!
The humble SHIFT button is actually quite a powerful tool within the touchscreen UI:
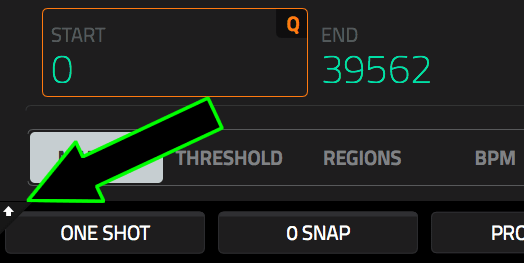
- More accuracy: Hold down the SHIFT button while you turn the data wheel or Q-LINKS and the resolution of each dial ‘click’ is significantly improved. Get ‘0.1’ LEVEL increments in the CHANNEL MIXER, ‘TUNE’ in ‘0.01’ increments in SAMPLE EDIT, set the TEMPO via MAIN in 0.01 increments, change PROGRAM EDIT > LAYER OFFSET in single digits instead of 100s. There’s plenty more examples throughout the Touch UI; if you can’t set the value you want, SHIFT is normally the solution – if not double tap and you’ll either get a number pad or a larger on-screen dial/slider.
- Additional menu options: If you see a little upward arrow next to the first menu button on a screen, holding down SHIFT will produce a set of extra navigation buttons. Currently you’ll find this in GRID, BROWSE, STEP EDIT, PAD PERFORM and SAMPLE EDIT (both in TRIM and CHOP).

- Additional Button Functionality: Hold down SHIFT to change the function of certain hardware buttons – the alternate functionality is literally written underneath the button. For example, SHIFT+UNDO = REDO, SHIFT + MENU = BROWSE, SHIFT + BANK A = BANK E. Remember you can also ‘double tap’ a button for the same result.
- Browser Shortcuts: In the browser, navigate to a location on your disk, hold down SHIFT and press one of the top right folder icons. This will now create a shortcut direct to that location which can be used in the browser and in the ‘Save’ screen. I use this for jumping straight to the ‘Projects’ folder on my external hard drive.
2. Rapidly add sequences to your SONG MODE playlist
Ever wondered why each pad in SONG MODE is assigned a sequence? First hit the REC transport button and now tap a pad and that sequence is automatically added to your song playlist. Keep on tapping those pads until you’ve quickly built your entire song, and if you need a sequence to repeat multiple times, just re-hit that pad for each required repeat. How easy was that?
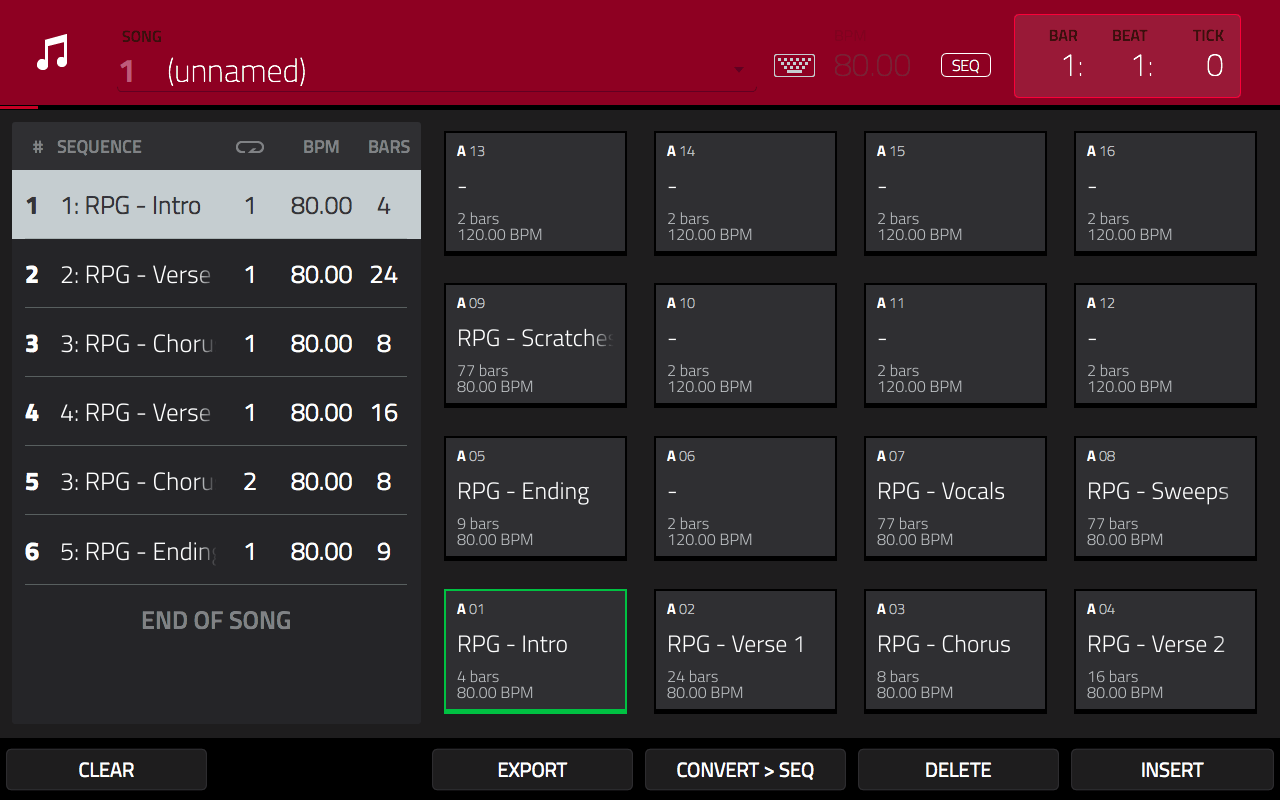
3. Convert Your Song to a Sequence
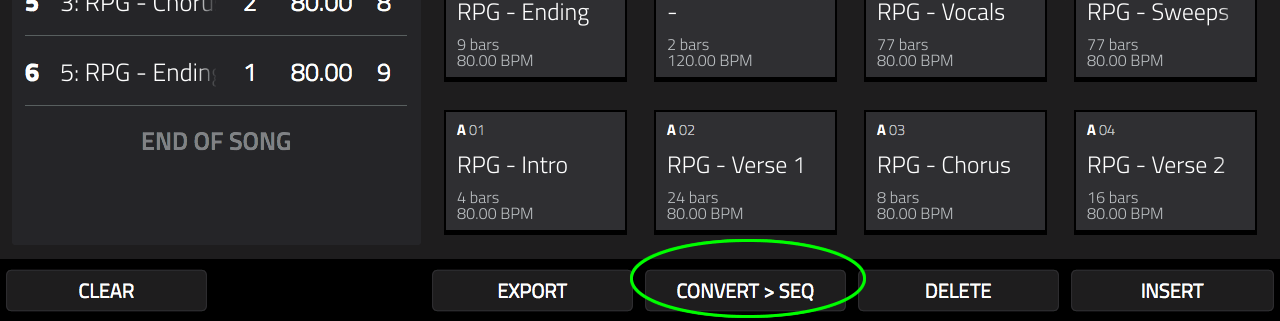
Need to lay an audio track across your entire song? Well you can’t do that in SONG MODE, so hit CONVERT>SEQ to convert your entire song into a long, single sequence. You can now record vocals and instruments to audio tracks that span the entire song/sequence, plus it makes mixing a doddle because while it’s not possible to tweak the CHANNEL MIXER in SONG MODE, you can freely adjust mixer settings while playing back a single sequence.
4. Quick T.C. Changes in GRID EDIT
What to change T.C. (quantize) in GRID EDIT? Well, there’s the tedious option ( SHIFT > T.C > set new TC > CLOSE), and there are a few much quicker ways; first you can double tap that teeny-weeny green T/C value in the top left of the GRID to get a pop up list of T.C. options:

Or you can hold down the NOTE REPEAT button and the bottom menu changes to a set of ‘instant T.C.’ buttons – just tap the T.C. you need. There’s also yet another option which actually leads us to our fifth tip…
5. Hold down that Q-LINK button
MPC X owners get those lovely OLED displays above each Q-LINK to remind them of the current Q-LINK assignments, but all is not lost for MPC Live (and MPC Touch) owners. No matter what screen you are currently in, just press and hold down the Q-LINK button and you’ll be shown what the current Q-LINK assignments are. And if you do it in any of the ‘sequencing’ screens (e.g. MAIN, GRID, STEP SEQUENCE, TRACK VIEW) you see there’s another quick option for changing T.C – the bottom Q-Link dial in Q-LINK column ‘1’.
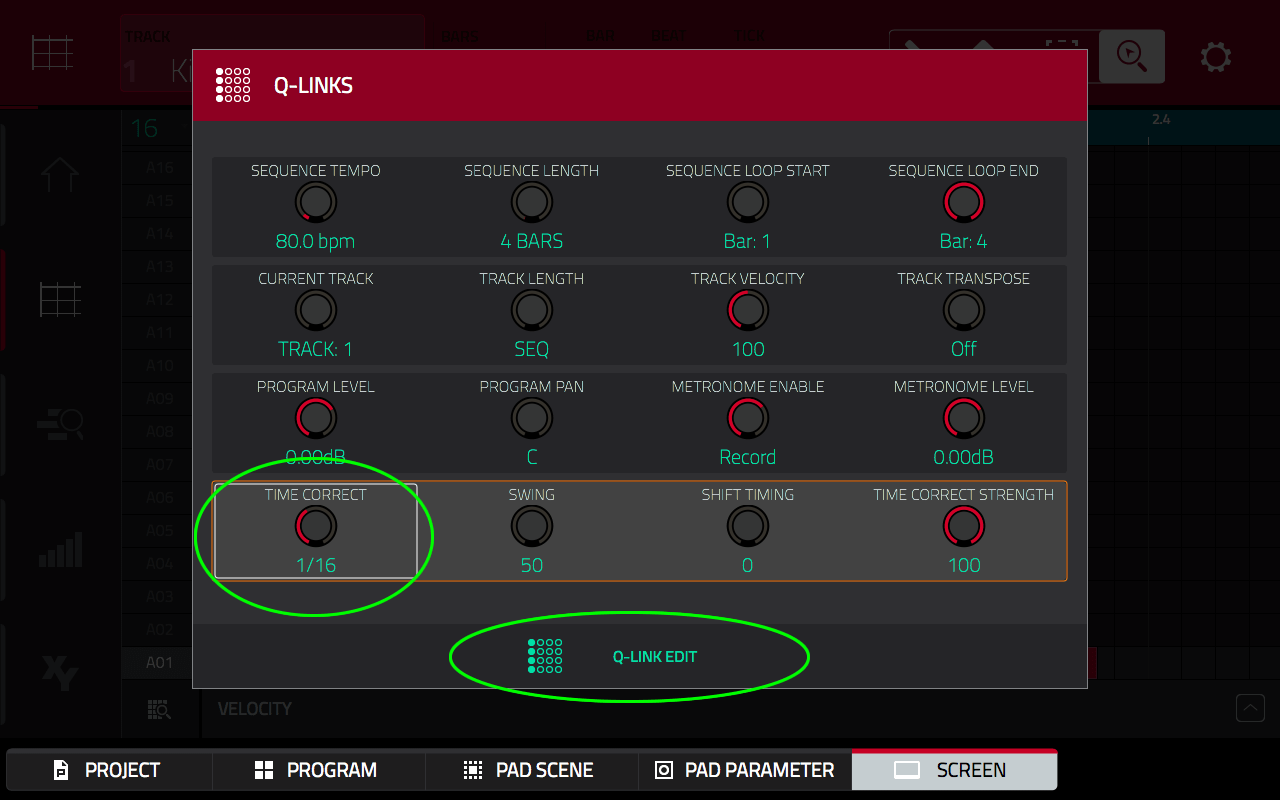
Remember you can also hit that Q-LINK EDIT button to set up your own custom Q-LINK assignments.
6. Purge Those Unwanted Samples
Finally, this one is just a good old fashioned legacy MPC memory management tip. Standalone MPCs have a finite amount of memory (approximately 1GB of the advertised memory is used up running the operating system) so don’t let your current project get too flabby with unused samples weighing it down. Go to MENU> PROJECT and hit the PURGE button:

On the confirmation page select UNUSED SAMPLES; this will delete from memory any sample not currently assigned to a program, instantly freeing up some precious active memory. Other easy ways to save memory include making use of non-destructive chopping (i.e. chop to ‘slices’ and ‘pad parameters’) and using mono samples wherever possible (this will also help conserve CPU).
Discover more MPC Live, MPC One & MPC X tips, tricks & tutorials in ‘The MPC Bible‘.
2 Responses
Leave a Reply

Latest Posts
MPC Bible 3, Revision 6 - MPC Oscillators, MPC 3.9, MPC One G2 + MPC Key 37 G2

Downbeat Kit 3 - Acoustic Drum Kit Expansion For MPC3

MPC Bible 3, Revision 4 - Clip Matrix, MPC 3.7 + MPC XL

Out Now: MPC Bible 3, Revision 3 With MPC Live 3 MPC3.6 Support

Feb 3, 2021 5:20 am
Mpc one… cant loop samples in sequence mode WHY?
Apr 10, 2021 7:31 am
Thanks bro